1. Machine will do a single running stitch around the area for the fabric and stop.
2. Place your fabric covering the outlined area.
3. Machine will do a double outline around the area and stop.
4. Trim away the excess fabric close to stitching with appliqué scissors.
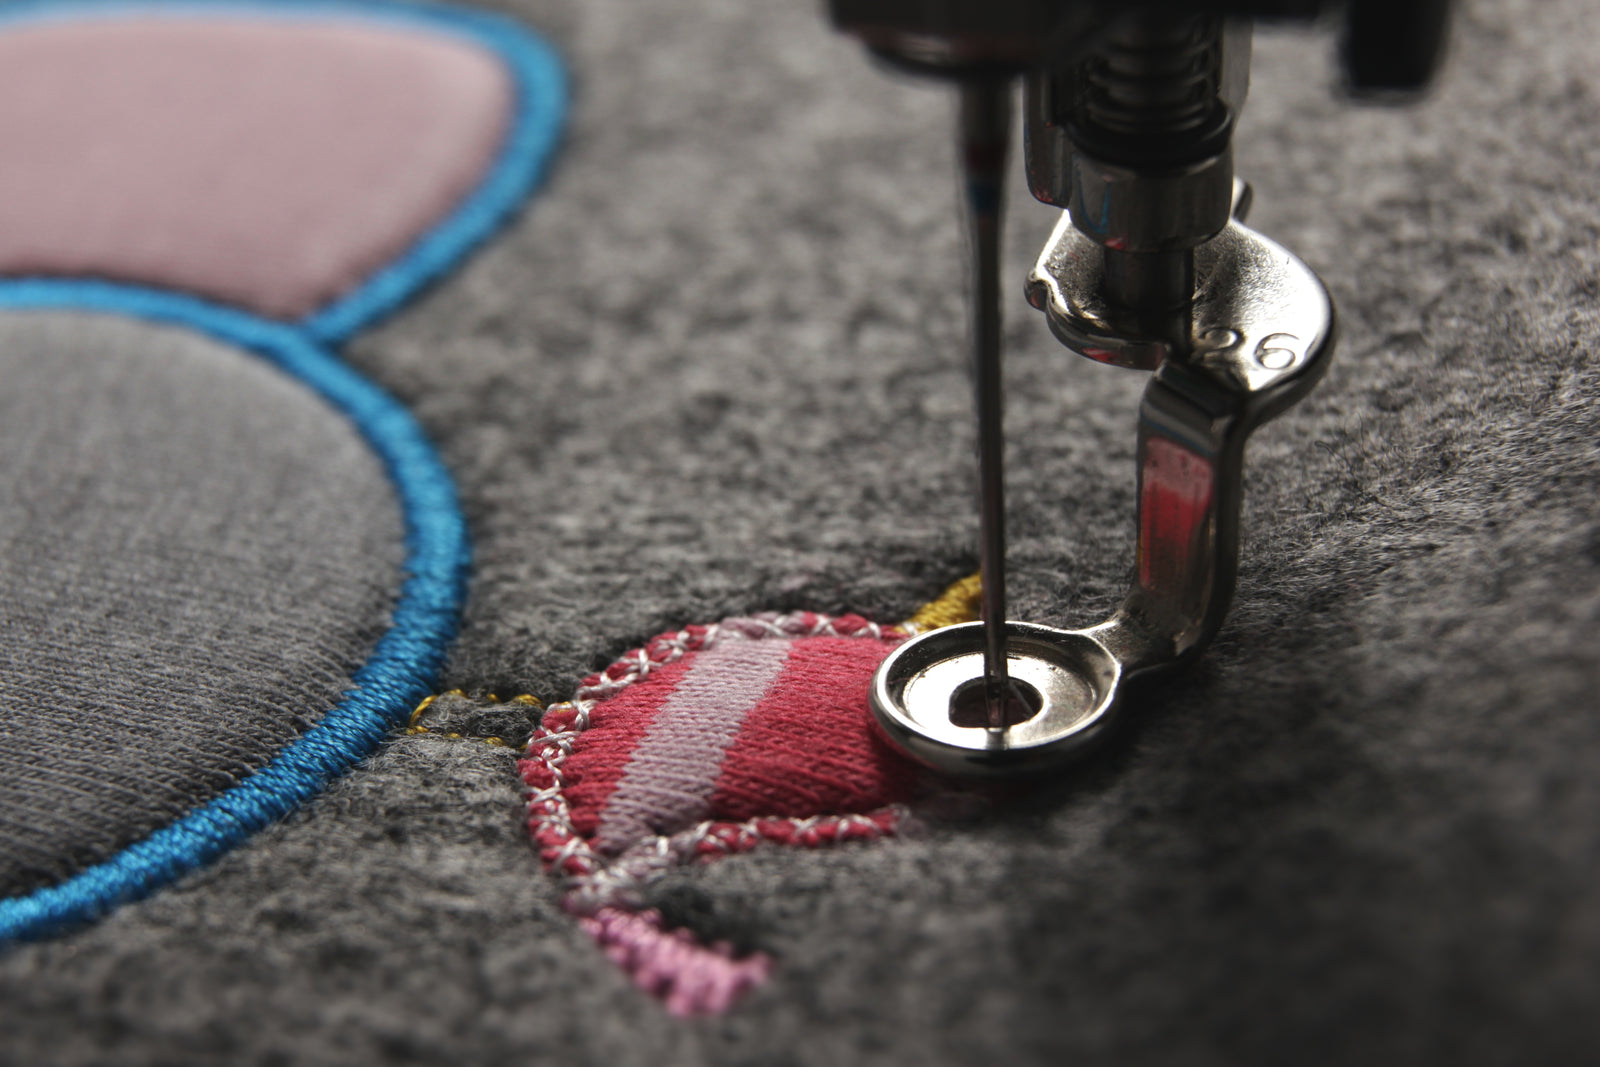
5. Machine will satin stitch over the rough edges.
Each design will be different. You may have several areas of double outlined stitching/trimming in a row before any satin stitching begins. Follow the directions included with each design for specifics.
Design/fabric preparation
1. Use embroidery software to print real-size templates to place your designs.
2. Select fabrics that launder or clean the same as your base fabric.
3. Check for show through (being able to see another fabric through it). If using lightweight or light-colour fabrics you may need to use a lining. Try two layers of the fabric. I use scraps of 2 oz. Cutaway stabilizer under white or light colours. Place the layers together then treat as one piece of fabric when stitching and trimming.
4. Cut your fabrics slightly larger than stitching area it needs to cover. Approximate sizes are given in each set of design instructions.
5. You can use press and tear etc on the backs of your appliqué fabrics if you want to iron down the finished product. Follow package directions. Wait till the project is out of the hoop to press.
Keeping Your Outlines Where They Belong.
1. Stabilize for your base fabric. Generally, knits need a cutaway. Woven’s can use a tearaway.
2. Baste in the hoop. Some machines offer this function. There are basting files for other machines available on the internet on various sites.
3. Stitching on fleece, terry or other "loopy" fabric? -- Use a topping such as Aquafilm or Heatsol. It will make trimming the fabric much easier. I have included an Optional Underlay in most designs. It will hold the loops down and keep your outlines in place.
Stitching Directions
1. It is not always necessary to change thread colours at each colour stop. Just follow each design's directions sheet for what to do at each stop.
2. When you see -- "Place (or lay) fabric for ....." place pre-cut fabric over that area. Use a temporary fabric spray adhesive or temporary adhesive backing to help hold fabric in place if you wish.
3. Make sure fabric covers the outline stitching of the area you are working on. I prefer at least 1/4 inch extra on all sides.
4. "Trim fabric" --- Remove hoop from machine if necessary. Do NOT remove project from hoop. You need to be extremely careful not to disturb the base in the hoop. Carefully trim as close as possible to the double stitched outline without clipping stitches. Take care not to catch your base fabric. The rough edges will be covered by satin stitching (or a combination if zigzag and blanket stitch). I use the pelican billed appliqué scissors for larger areas. For smaller ones, the Soft-touch pointy 6" scissors are great. Any small, sharp to the end scissors will work. Return hoop to machine.
When appliqué is finished, remove from hoop. Trim jump stitches front and back. Iron on wrong side with appropriate settings for fabric. Using a thick fluffy towel on ironing board will help fluff up the embroidery.